I missed the last train and had to walk back to town. The walk took me through rice paddies where farmers were finishing their evening work.
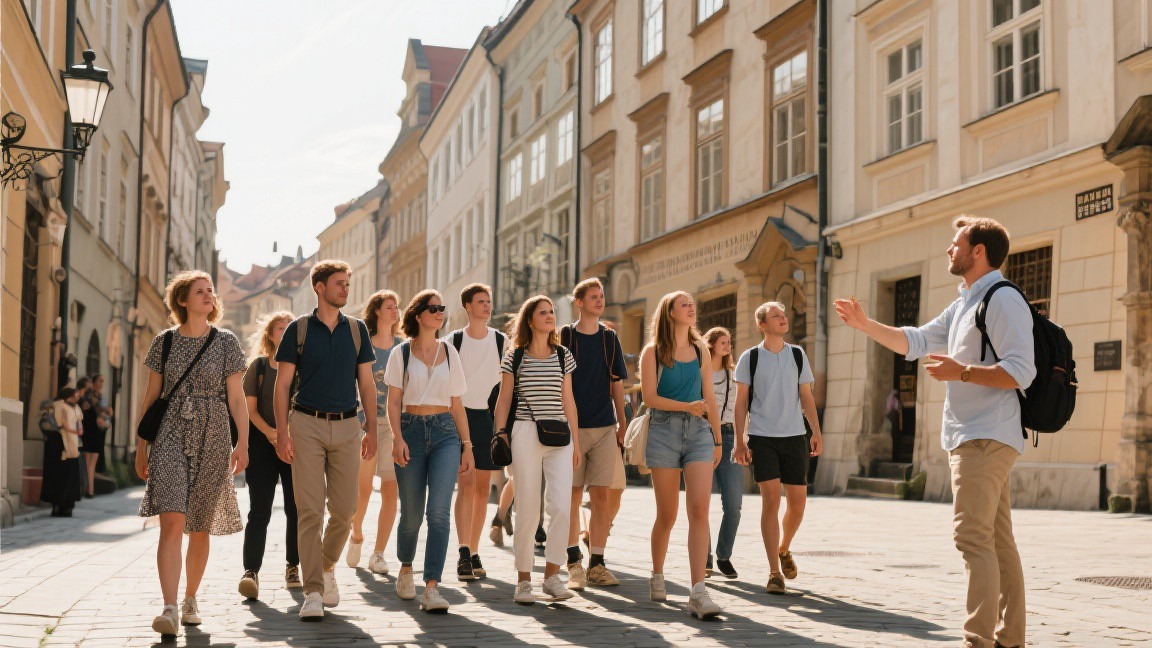
I raised my camera toward the elderly woman selling spices at Jodhpur's Sardar Market, and she immediately put her hand up. It was a small gesture, but it stopped me cold. That moment in Rajasthan forced me to rethink everything I thought I knew about taking photos while traveling, and it started a years-long education in what it actually means to photograph people and places with respect.
Asking Permission Is Not Optional
In my experience, the best approach is to The single most important thing you can do before pointing your camera at another person is ask. It sounds simple, but in practice it requires humility, patience, and a willingness to accept no as an answer. I have found that a smile and a slight gesture toward the camera work in almost every culture. Learning to say "may I take your photo?" in the local language, even badly, makes an enormous difference. In Myanmar, a simple "naing ngan yin de?" before photographing a monk at Shwedagon Pagoda transformed what could have been an awkward interaction into a brief, warm exchange. The monk nodded, adjusted his robe, and then actually smiled for the camera.
The truth is, Reading body language matters just as much as words. If someone turns away, covers their face, or stiffens when they see your lens, put the camera down immediately. In the markets of Marrakech, I watched a tourist persistently photograph a Berber woman who was clearly uncomfortable, following her from stall to stall. The woman eventually shouted at him in Arabic and threw a handful of olives. That confrontation was entirely the photographer's fault. A refusal is not a personal rejection; it is a boundary, and respecting it is the bare minimum of ethical behavior.
When people say yes, show them the result on your screen. In rural villages outside of Oaxaca, Mexico, I photographed a grandmother making tortillas by hand over a wood fire. After I showed her the image on the back of my camera, she called her entire family over to look. They laughed and pointed and asked me to photograph each of them. That single moment of sharing turned a transaction into a connection. If someone asks for a copy, follow through. AirDrop, WhatsApp, or even returning the next day with a printed photo builds trust that ripples through the entire community.
Photographing Sacred Sites and Ceremonies
Religious and ceremonial contexts demand an extra layer of sensitivity. At the Pashupatinath Temple in Kathmandu, I witnessed tourists climbing onto walls to photograph Hindu cremation ceremonies along the Bagmati River. Family members were grieving inches away, and the last thing they needed was a lens pointed at their most private moment. Many temples and spiritual sites have clear rules about photography: obey them without exception. At Uluru in Australia, the Anangu people ask visitors not to photograph certain sacred areas, and the request is rooted in thousands of years of cultural law, not a preference for privacy.
Some ceremonies welcome photography, but the terms are set by the community, not the visitor. During the Day of the Dead celebrations in Oaxaca, families build elaborate ofrendas and decorate gravesites with marigolds. Many are happy to share these moments, but asking first is still essential. I approached a family at the San Miguel Cemetery and asked in Spanish if I could photograph their altar. The father said yes, then spent ten minutes explaining the significance of each element: the pan de muerto, the copal incense, the photograph of his late mother. The photos I took that evening mean far more to me because of that conversation.
Performance tourism creates a particularly tricky ethical gray area. In places like Luang Prabang, Laos, the daily alms-giving ceremony where monks collect food at dawn has become a spectacle, with tourists lining the streets and sometimes jostling to get the best angle. The monks have asked repeatedly for visitors to maintain distance and silence, and many tour operators now discourage flash photography altogether. If a cultural practice was not staged for your benefit, treat it with the reverence it deserves, and if you are unsure whether photography is appropriate, err on the side of putting the camera away.
Children and Vulnerable Communities
Photographing children while traveling is one of the most ethically fraught decisions a photographer can make. Children cannot give meaningful consent, and their images can end up anywhere once posted online. In parts of Southeast Asia and East Africa, I have seen tourists hand out candy or small amounts of money to children in exchange for photos, creating a perverse incentive that turns kids into performers. This practice encourages begging and reinforces a Active where children see foreigners as sources of treats rather than people to interact with normally.
If you want to photograph children, ask their parents or guardians directly. In a small village in northern Vietnam, I asked a mother if I could photograph her daughter carrying water from the well. She agreed, and then insisted I photograph the whole family. We spent an hour together, and I left with a set of images that told a much richer story than a single child portrait ever could. When posting images of children online, consider whether you would be comfortable if those images were of your own kids, seen by strangers around the world.
Photographing people in situations of poverty, illness, or distress requires the highest level of ethical judgment. A person sleeping on a sidewalk in Mumbai or begging at a traffic light in Addis Ababa is not a "character" in your travel story; they are a human being in a difficult situation. Ask yourself why you want to take the photo. If the answer is to document social conditions for a purpose larger than your Instagram feed, that is one thing. If the answer is that the image looks "dramatic" or "authentic," reconsider. There is a long, ugly history of poverty tourism, and every photographer has a responsibility not to contribute to it.
"The camera is an instrument that teaches people how to see without a camera." — Dorothea Lange
Paying for Photos: When Is It Appropriate?
The question of whether to pay people for photographs comes up constantly, and the answer depends entirely on context. In some places, a local economy has developed around photography. At the floating gardens of Inle Lake in Myanmar, Intha fishermen have discovered that tourists will pay to photograph them posing with their traditional conical nets. Some fishermen now spend more time posing than fishing. Is this exploitative? The fishermen themselves would say no; it is a voluntary exchange that supplements their income. But it does change the nature of the interaction from documentary to performance, and that distinction matters.
Look at what happened in Iceland last year. The popular Golden Circle route became so crowded that locals started sharing alternative paths. A farmer named Gunnar opened his private land for small groups. His hot spring, unknown to most tourists, offers a view of the northern lights that rivals any expensive tour.
Like when I visited a similar place and discovered that the local recommendations were far better than anything online. One shop owner pointed me to a hidden spot that became the highlight of my entire trip.
In other contexts, payment for photographs can be deeply problematic. If you pay children for photos, you create an incentive for parents to keep them out of school and send them to tourist areas instead. If you pay for photos of ceremonial dress or spiritual practices, you risk commodifying sacred traditions. The best approach is to observe local norms. In Peru, women in traditional Andean dress near Machu Picchu often charge a small fee, usually 2 to 5 soles (about $0.50 to $1.30), for photographs. This is a well-established practice, and refusing to pay while still taking the photo is far more unethical than the payment itself.
When payment is requested, negotiate clearly and respectfully before raising your camera. Agree on a price, pay afterward, and treat the exchange as a business transaction rather than a favor. Carry small bills in local currency for exactly this purpose. If the asking price feels exploitative or the situation feels staged, walk away. There is no shortage of genuine moments to photograph, and the best images come from real interactions, not paid performances.
Social Media and the Ethics of Sharing
Posting travel photos online introduces a new set of ethical considerations that did not exist a generation ago. Once an image is on Instagram, Facebook, or a blog, you lose control of it. That portrait of a smiling shopkeeper in Hanoi could be screenshotted, reposted, or used in ways the subject would never expect or consent to. Before posting a recognizable image of another person, ask yourself whether they would be comfortable seeing it. If you did not get explicit permission to share the image publicly, do not post it. This is especially important for photos of children, indigenous communities, and people in vulnerable situations.
Geotagging sensitive locations is another ethical minefield. Tagging a small, unspoiled village in the Himalayas or a hidden beach in the Philippines might seem harmless, but it can trigger an influx of visitors that the local infrastructure cannot handle. The phenomenon of "Instagram ruins" is well documented: once a location goes viral, it rarely returns to its previous state. Horseshoe Bend in Arizona, the tulip fields in Lisse, Netherlands, and the fishing village of Caleta Tortel in Chile have all experienced significant negative impacts from social media-Guide tourism. Think twice before geotagging, and consider whether the attention serves the place or just your feed.
Captioning matters too. Reducing a complex culture to a stereotype in a caption, using colonial-era language to describe a place, or presenting yourself as a "discoverer" of somewhere that millions of people already call home is both lazy and harmful. Write captions that add context, name the place and its people accurately, and acknowledge that you are a visitor, not an authority. The best travel photography accounts are those that educate and humanize rather than exoticize and impress.
Respecting Places, Not Just People
Photography ethics extend beyond people to the places themselves. At Angkor Wat in Cambodia, I watched tourists climb onto ancient stone structures to get a better angle, despite clear signs prohibiting it. At Yellowstone National Park in the United States, visitors regularly step off boardwalks to photograph thermal features, damaging fragile crust and risking their lives. At coral reefs in the Philippines, divers grab onto coral for stability while taking photos, killing organisms that took decades to grow. Every time we prioritize a photo over the preservation of a place, we are saying that our image matters more than the thing itself.
Minimizing your impact applies to photographers as rigorously as to hikers and campers. Stay on marked trails, do not move rocks or vegetation to improve a composition, do not feed or disturb wildlife for a shot, and never alter a natural scene. The best Scene photographers I know spend far more time waiting for the right conditions than they do manipulating their surroundings. Patience produces better images than interference, and it leaves the place intact for the next visitor.
Drone photography adds another dimension to place-based ethics. Flying a drone over a quiet village, a nesting site, or a private property without permission is an invasion, regardless of how stunning the aerial footage might be. Regulations vary wildly by country: Japan requires registration for drones over 200 grams, India has restricted drone use entirely in many areas, and Iceland prohibits drone flights over crowds and near airports. Research the rules before you fly, and even when the law is permissive, consider whether your flight will disturb wildlife, interrupt a peaceful setting, or violate someone's privacy. A beautiful image is never worth making someone uncomfortable in their own home.
Traveler's Tip
Before your trip, research photography norms for your destination. The website of the Cultural Services of the French Embassy, for instance, publishes guidelines on photographing in France. Many countries have specific laws about photographing government buildings, military installations, and transportation infrastructure. Knowing these rules in advance prevents uncomfortable encounters and potential legal trouble.